what are the requirements to have a school bus converted into an rv
Tabular array of Contents:
Skoolie Conversion 101
Buying the Right Passenger vehicle
Starting Your Skoolie Conversion
Building the Subfloor
Flooring Plan Layout
Building the Frame
Edifice the Walls
Plumbing
Electrical
Edifice the Ceiling
The Large Purchases
Products Used in our Conversion
Skoolie Conversion 101
Converting an old school omnibus into a tiny home on wheels was something that nosotros never thought we would practise, or could practice for that matter. I had a pocket-sized amount of knowledge in things like heating and air workout as my father owned and operated in that field for many years. I dabbled around in tile for a summer with a family unit friend correct after high school as well as some construction here and there. None of that however prepared us for Skoolie Conversion from the inside out. One thing we did know was that in that location is an abundance of information a click away. The internet is filled with Skoolie forums, YouTube tutorials and limitless blogs answering whatever question we could have had. Having good friends that do this kind of affair for a living is also a huge plus. Now that information technology is all said and washed, our home is built and we have been on the route total-time for just over five months, I want to share with you the steps we took to brand our dream a reality.
RELATED: Tips and Challenges of Converting a School Bus
Buying the Right Bus
The first slice of advice I will give you is to pick a bus that will fit your needs. At that place is really style more to it than just finding a double-decker on Craigslist that looks cool and figuring out how you lot are going to make it work after you buy information technology. Take into account how many people are traveling with you. Start with sleeping arrangements and then movement your way forward. You lot might observe that y'all can't fit a male monarch sized bed for you and your wife, bunks for the kids and still have room for a seven foot couch. At present you are forced to downsize considering your bus is besides short. Design first, buy your bus 2nd. Side by side step is planning where y'all want your new domicile on wheels to go. Something we never considered was that buying your bus somewhere else can completely change what transmission y'all get and how the coach is geared. Nosotros take been forced to stay away from places that we wanted to experience considering our bus but won't make it up the hills required to go there. If nonetheless, you purchased a bus from somewhere like Colorado or Utah you lot would exist confident in knowing that it was designed with a transmission and gearing that will get you upwards and downwardly the mountains with zippo problems.
Starting Your Skoolie Conversion
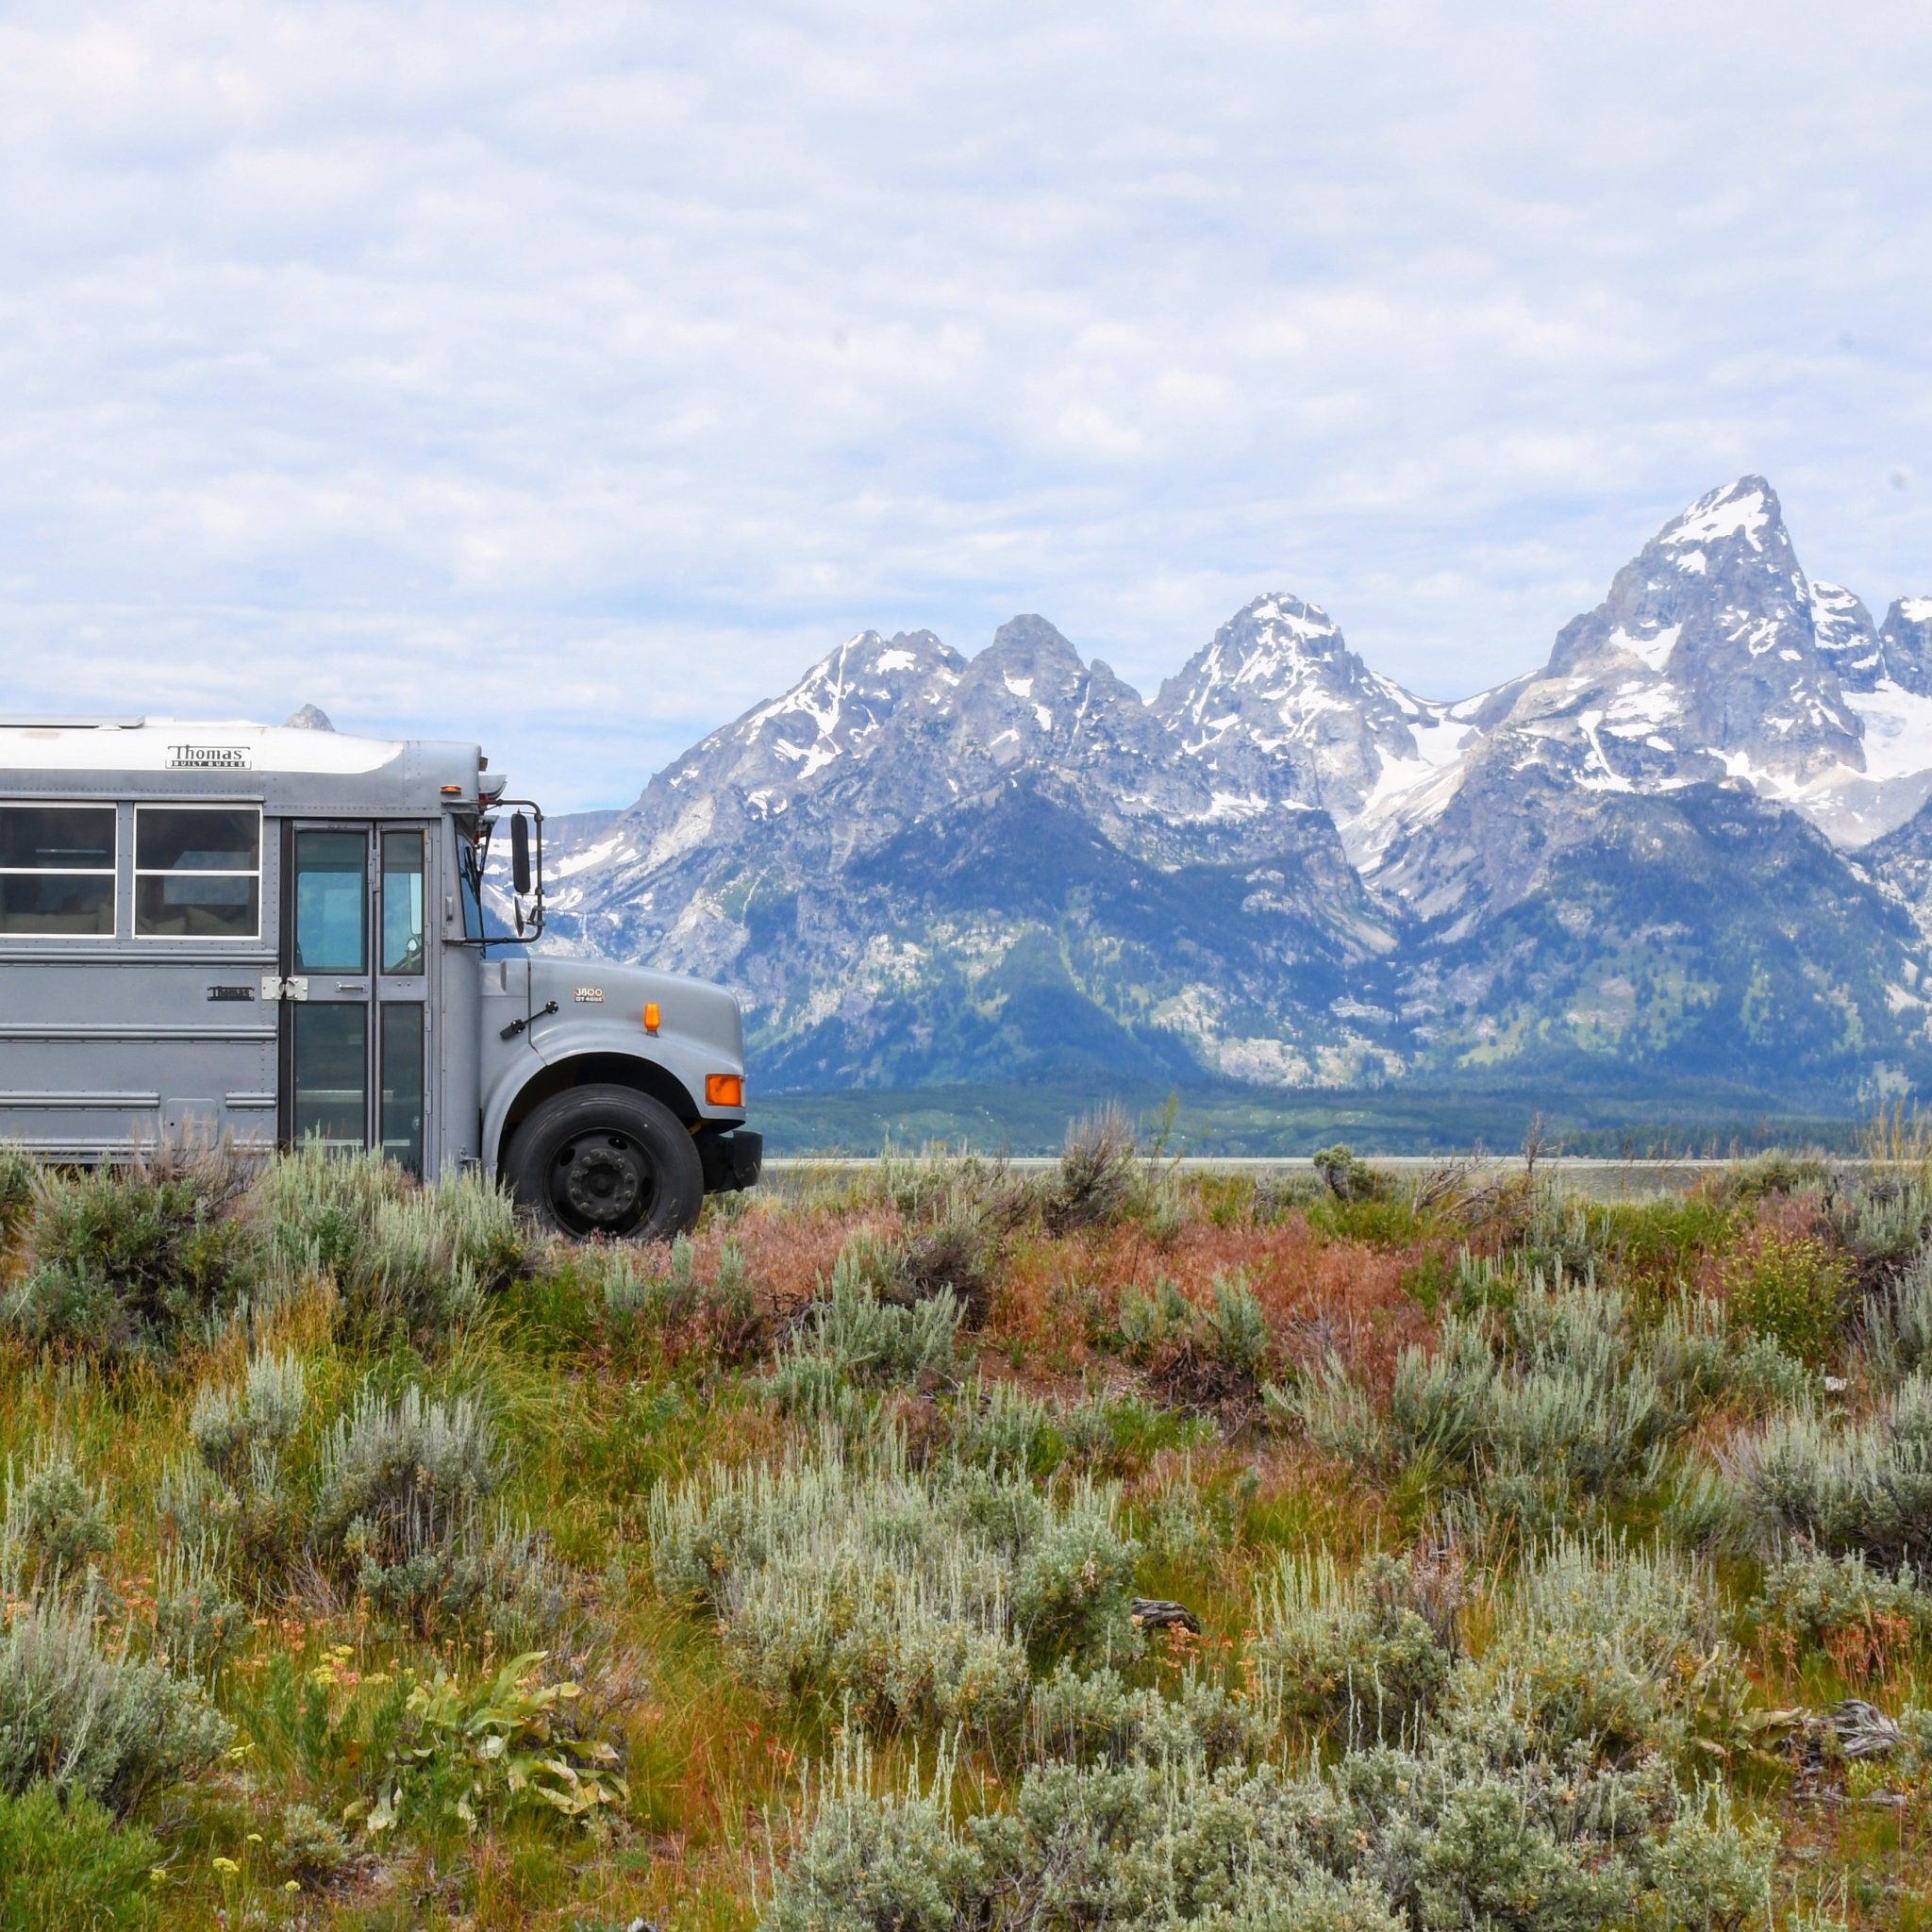
The charabanc we purchased is a 2001 International with a DT466e engine and an Allison 2000 automatic transmission. It had a little over 128k miles on it, was already painted gray and had the rear side handicap door we were looking for. We started our skoolie conversion where most people do, taking out the seats. This procedure is different for everybody. Our seats were placed in a track that allows you to motility seats frontwards and back. To unbolt them from the tracks I had to get underneath and use a deep socket to hold the nut while my girlfriend Lexi loosened the bolts from the top. Some were easily attainable and some were non. This step took a lot of patience and teamwork. Nosotros cut and peeled back the old rubber and used pry confined to pull upward the existing forest flooring by popping information technology off of the nails and so grinding the heads of the nails off later. Once the flooring was up we had to remove the rear bus heater. This was something that YouTube certainly helped with. The manner information technology works is by having hot coolant from the engine run in a line all the way to the back of the bus into the heater and and then back through some other line into the engine.
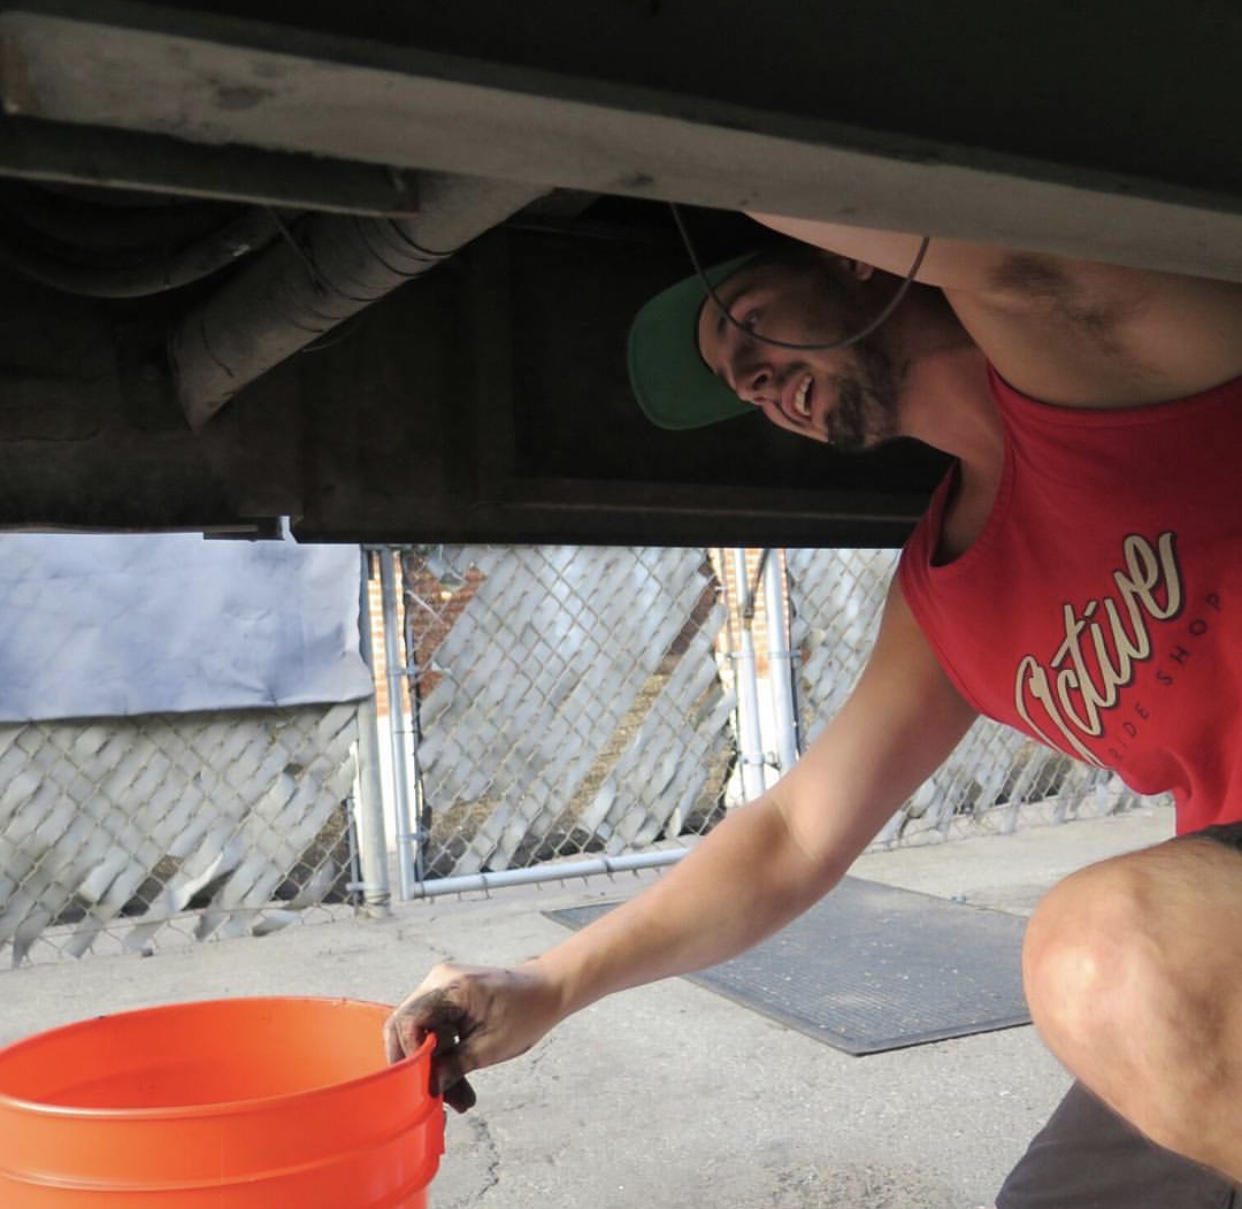
In order to take this out, nosotros had to loop the lines dorsum to the motor. This process is a bit of a mess but if y'all demand to do it, brand sure to check under your hood to run across if at that place is a coolant valve that you can turn off then the merely liquid y'all are dealing with is the coolant that is already in the line running to the heater. Cut the lines as far upward to the driver seat every bit you can, empty the coolant into a bucket and using the right fittings capable of dealing with hot pressurized liquid, connect the two together. And so unbolt the rear heater and drain what is in the remaining lines into the bucket too.

Building the Subfloor
We were and then articulate to starting time the subfloor. Subsequently cleaning it every bit all-time as we could, we painted on a layer or 2 of Rust-oleum. We used two-by-fours to frame the flooring and Lowe'due south 2 inch insulation board cut and wedged in-between. Then nosotros placed and screwed 3/iv inch plywood down from front end to back. Something that we did differently that is entirely based on personal preference was not insulating the walls and changing the original bus windows. We planned to travel with the weather and never be in a place that is too hot or likewise cold. We painted the side walls white and figured aesthetically you would not see them afterward nosotros framed everything out. It looks squeamish but staying within perfect weather all the time is nearly impossible. Unless you completely take out the windows and insulate everything you are going to be hot or cold at some point.

Floor Plan Layout
After the subfloor was done we began taping our layout. And so redesigning and taping once more and again until nosotros got it correct. We must have fatigued out twenty different layouts before we decided on one that would actually piece of work. This goes back to what I previously said about knowing your blueprint before you buy your bus. The whole purpose of finding a rear side handicap door was to build a garage wall and transport a motorcycle inside. That plan quickly took a turn when we pushed everything upwards five anxiety to comprise the garage and zippo fit right anymore. Not to mention we forgot about the bike wells! Which are a huge obstruction to overcome when attempting to figure out where to put your bed, a shower or a toilet. We decided to scrap the whole "motorcycle in the motorcoach" thought and figure out a way to put it on the dorsum at a later fourth dimension. Instead, we built a garage space roughly a foot and a half deep only accessible from the dorsum door to store things like tools, motorcycle and backpacking gear, extra cords and our peat moss for the compost toilet.

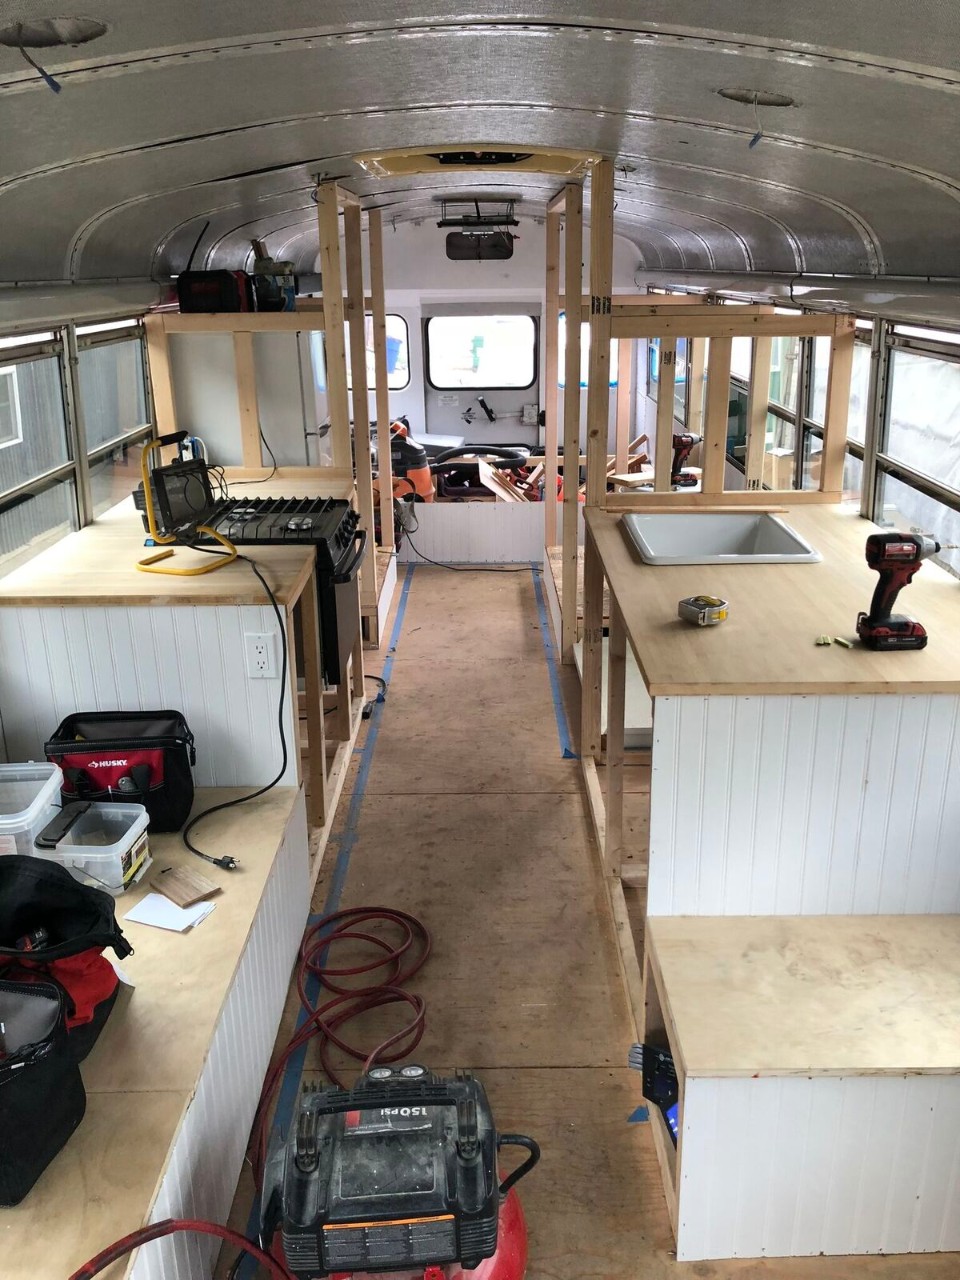
Building the Frame
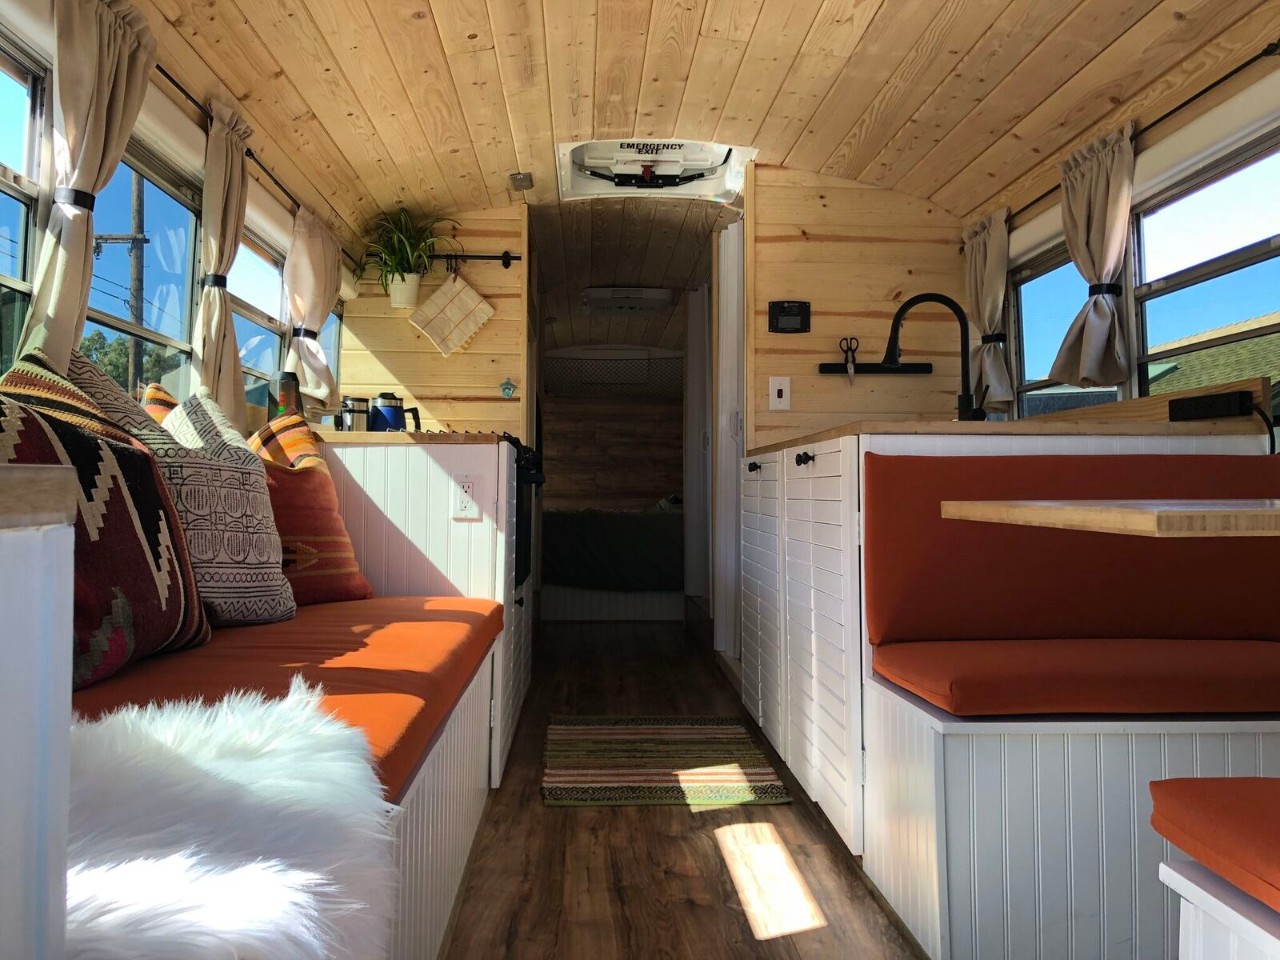
The framing started with the sleeping room and worked it'southward way forrard. We skipped over the bike wells for the fourth dimension being, knowing that we were putting our toilet on i side and the closet on the other. Moving passed that we placed a 3-past-2 human foot shower pan in front of the wheel well, framed around information technology and up to the ceiling. In front end of the opposite bicycle well we framed a spot for our apartment sized refrigerator from floor to ceiling that is merely over ii feet broad. We dearest to cook so a lot of counter space was a necessity. We decided to do a counter of just over four and a half feet on both sides of the bus. The shower and toilet side incorporates our kitchen sink and the refrigerator side is domicile to our oven. Rather than edifice drawers underneath both sides nosotros but repurposed some free chiffonier doors we constitute exterior of a job site that were being thrown away. Underneath our sink is a set of double doors, one of which opens to reveal our trash can, cleaning supplies and extra water. The other is a basic plastic four drawer cabinet that holds our silverware, tupperware and diverse kitchen items like trash numberless, oven mitts and towels. There are three cabinet doors on the stove side. The door underneath the oven holds our pots and pans, one side holds dry nutrient storage and dish ware and the other side is used to store propane. Our counter tops are fabricated from bamboo which we got for next to nothing from a friend of ours.
Finally, beyond that is our 2-person dinette on the driver side and our vii-foot couch on the other. Below each of our two and a half by i and a half foot dinette seats is storage where we firm a 3000 watt AIMS power inverter, shore power cords and leveling blocks. The burrow serves every bit storage also, containing off season apparel, camera equipment, medicine and toiletries. The cushions for the couch and dinette were made to scale from a website called customcushions.com. Nosotros decided not to spend the money on a dorsum cushion for our couch and instead used old 24"x 24" pillows and bought new pillow cases from Amazon.
Building the Walls
Once the initial framework was washed and electrical ran, we began putting upward a total of seven dividing walls. Ii on each side of the wheel wells to shut off the closet and 2 on the contrary side, surrounding our Nature'south Head compost toilet. Nosotros then added another wall to shut off the shower and some other on the adjacent side of the refrigerator. The last remaining wall built was backside the bed frame to close off our garage space. To go along things light, simple and almost chiefly cheap, we faced most of the walls with white beadboard. It looks great and is very like shooting fish in a barrel to keep clean. Another thing that we accept seen people practice differently is to put downwardly their floor before they start framing. For united states of america, ownership extra flooring to and then build on summit of it and comprehend it up seemed similar a waste matter of time and coin. Plus, it opens up the possibility of damaging your floor during the build procedure. We purchased laminate flooring from The Dwelling house Depot in the Lakeshore Pecan cease and started with the pocket-sized walkway of floor space we had. After realizing we had extra we used the remaining pieces to comprehend the dorsum bedroom wall separating the garage also equally modest pieces used every bit trim to add to the unfinished areas like in-betwixt cabinet doors.


Plumbing
Our passenger vehicle is equipped with two 50-v gallon tanks. One for fresh water and the other for gray water. The fresh water tank is located inside the bus underneath our bed to protect the tank from the elements. We cut a hole in the top corner of the tank and ran vinyl tubing to and from a hole cut exterior of the bus and fastened an RV gravity feed inlet. Nosotros then ran the aforementioned tubing from the lesser corner of the tank forth the floor and through the walls to a 20PSI Jabsco water pump kept under our sink. We have withal to install a water heater existence that we typically try to use our shower equally footling as possible. The grey h2o tank is mounted underneath the omnibus and has a standard P-trap under the sink that then runs through the floor and straight into the tiptop of the tank. The shower drain runs through the flooring and into a P-trap under the autobus that then enters the tank on it'south side.
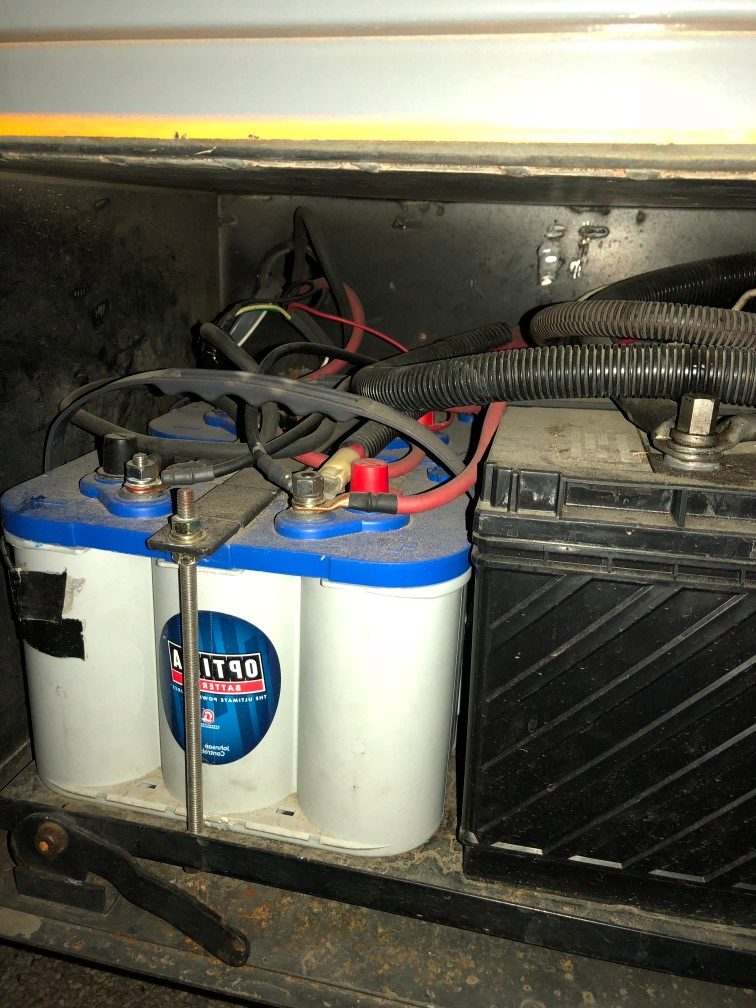
Electrical
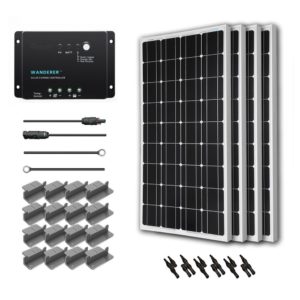
The power for our bus is provided by two Optima BlueTop Deep Cycle Marine 12-Volt batteries as well as a 400 watt solar system from Renogy. Both of which are ran through a 3000 watt AIMS Ability Inverter. If you are like us and know nothing well-nigh electrical, then this step might be tough. We had a ton of help and fifty-fifty hired a friend of a friend to come out and run everything properly and install the correct safety precautions. I would definitely recommend at least 600 watts of solar. Even our 400 watt system has been a lifesaver and calculation a couple more panels is something we are doing in the near future.
Building the Ceiling
Terminal but not least, the ceiling. That was something washed at virtually the very end. The original program was to utilise the same white beadboard on the ceiling merely the bend in the roof was too great and the lath kept breaking. Eventually, nosotros decided to go with Tongue and Groove pino and could not be happier with the outcome. Our motorcoach came from Arizona and already had a few inches of insulation betwixt the roof and the typical metal grate ceiling so we decided, if nosotros tin fasten the wood through to the ribs in the frame and still take head room, there is no need to rip it all out and kickoff from scratch. Happy to report that after five months on the route through some terribly bumpy terrain, the ceiling is nevertheless holding strong.

The Big Purchases
The duration of our build took close to eight months from first to divergence and afterward buying the double-decker for ten m, purchasing all the materials and equipping the bus with all of the necessary appliances and decor, the total cost was around $25,000. Some of the biggest purchases nosotros made were things like our Nature's Head compost toilet, our Avanti free energy star refrigerator and our custom cushions. The original Air conditioning did not work so we ripped information technology out and installed a Dometic RV unit on the roof. If we had to go another road we would have instead gone with a Mini-Dissever unit of measurement Air-conditioning. Even with our 3100 watt Champion generator, our current Air-conditioning only works when nosotros are plugged into shore power. Not to mention only cools downwardly the bedroom. We also downsized from a king size mattress in our flat to a new queen size from Zotto. We added a 32" Samsung smart T.5. on a swivel mount to the bedroom and brought along our PS4 and Blu-ray collection. The smaller purchases were things like our bath and shower doors, which are white accordion style from Lowe's, pocketknife racks, curtain rods and storage bins.
Products Used in our Conversion
Kitchen
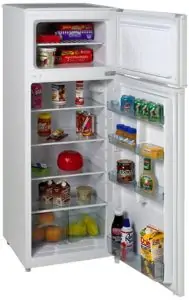
Avanti Fridge
This Avanti Fridge is the perfect size for us. 120V, energy star rated, and works great with our 400 watt solar panel setup.
Range
Very basic RV camper propane oven. No complaints!

Kitchen Sink
Perfect size sink from Ikea. Nosotros don't recommend going any smaller.

Faucet
We wanted a matte black faucet to go with our other black accents in the bus. It is a pull down too, so it makes washing dishes easier.

Wall Runway
These rails are a game changer! They hang all of our cooking utensils and fifty-fifty a plant! They are the perfect culling to cabinets or shelves. Especially in a moving charabanc, everything stays put on these track.

Knife Magnet
We were a scrap skeptical most getting a magnet strip from Ikea, but it has yet to let united states downward and information technology was only $12.00. A lot of other bus conversions have these in their kitchens!

Living Room
Couch Cushions
We ordered our cushions from customcushions.com. The fabric is Sunbrella and the color is Rust.

Turkish Pillows
These pillows are all handmade with a unique blueprint and colour.

Bharat Pillows

Defunction

Tabular array Lamp

Tabular array Lamp Base of operations

Bathroom
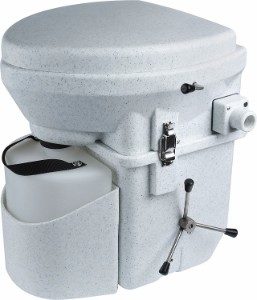
Nature's Caput Composting Toilet
This toilet is expensive simply information technology's easy to clean and uncomplicated to use. Not dealing with a black water tank is a major plus.
Flooring
Laminate Flooring
Lakeshore Pecan Laminate Flooring 7mm, $0.79/sqft

Engineering science
Solar Panels
Renogy 400 watt Wanderer Kit.
Generator
Awesome generator that is relatively placidity and has a remote start option.

Backup Photographic camera
Backup Photographic camera and 7 Inch Monitor Screen. Information technology'due south cheap and non the clearest but DEFINITELY a must take in a school passenger vehicle.

Solar Wall Lights
These have been extremely helpful when we are parked places where there isn't much light at night. Nosotros glued magnets to the back so we can stick them anywhere on the exterior of the bus when needed. They are move sensor likewise and can act as security.

Leveling Blocks
Camco XL Heavy Duty Leveling Blocks. We have been using these a lot and they are extremely durable and compact when non in use.
Switch Console
We installed a switch console in the front of the bus which has a USB and 12volt charge connector. It controls exterior and interior lights and allows us to come across how many volts nosotros are at.

Air Conditioning
Dometic Brisk Ii Polar White Air Conditioner. This unit works great in small areas, but if you take a big bus nosotros recommend getting ii.

Hit the Road
One of the greatest aspects of building a tiny dwelling house on wheels is having the freedom to exercise exactly what you want. You can put equally much work into your new habitation as you find necessary and the possibilities are endless. Whether it is an extravagant build that takes years assuasive you to go off grid for months at a fourth dimension or yous just throw a mattress in the back, pack some dress and have off for a few days. At the cease of the day, y'all are still building a home. Only there are no permits needed or inspections required and you lot volition never second judge moving to the wrong neighborhood because yous can e'er just start the engine and hitting the road.
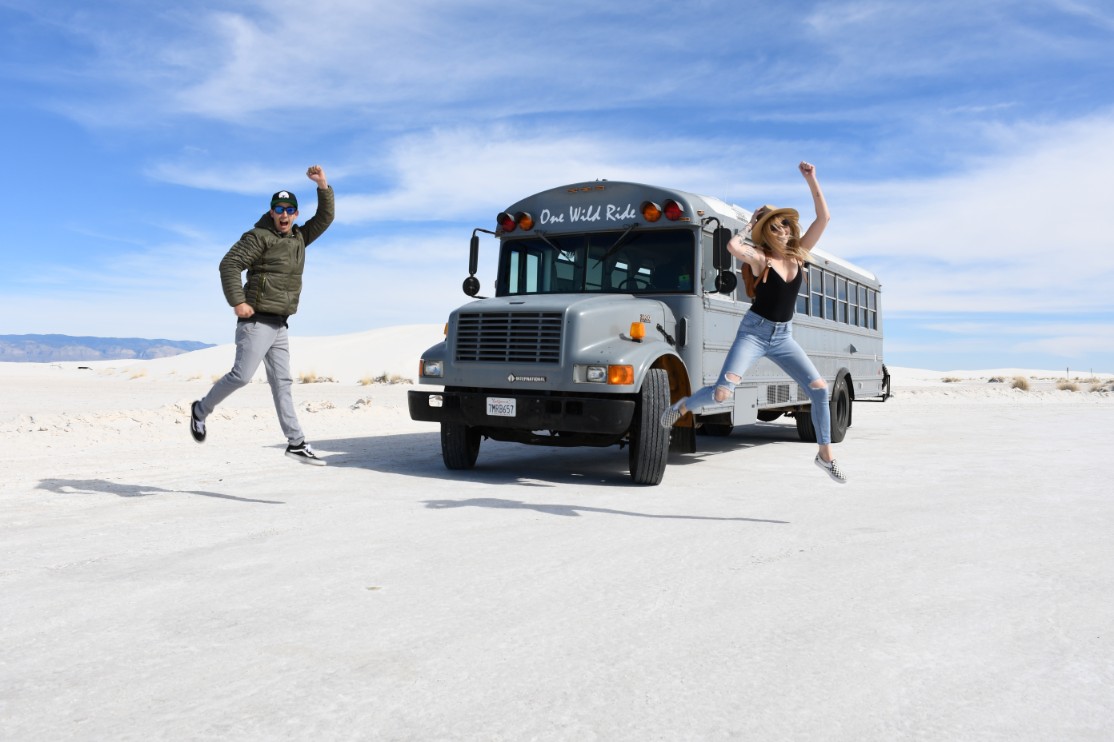
This Article was written by our friends, 1 Wild Ride. You can cheque out their awesome skoolie adventures on Instagram @onewildridebus.
Source: https://outboundliving.com/school-bus-skoolie-conversion-rv-camper/
0 Response to "what are the requirements to have a school bus converted into an rv"
Post a Comment