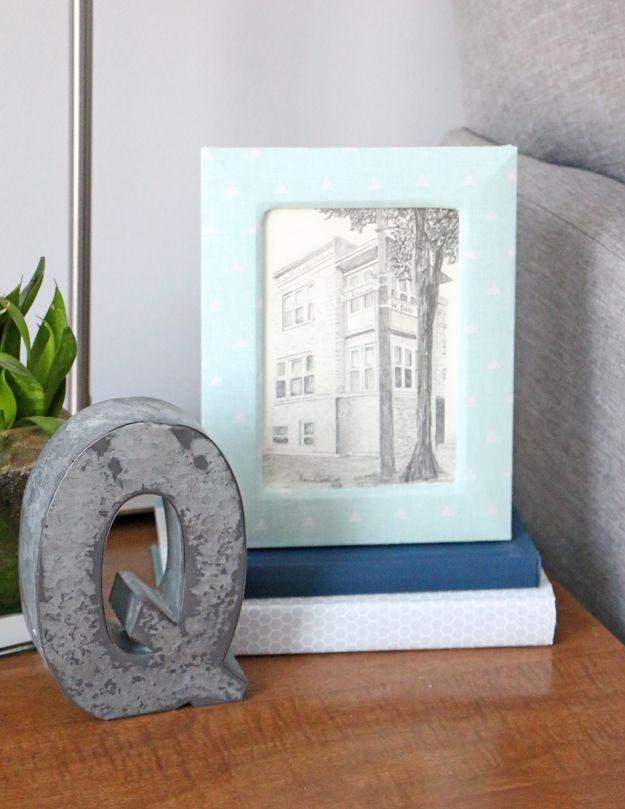
Transform a Plain Picture Frame With Fabric!
Take you ever perused the sale section at the store to notice a really cheap moving picture frame, only it didn't quite match the décor in your domicile? I love a good deal, and then this is the worst when this happens! A cheaply priced frame that just won't piece of work in your dwelling house is a major letdown. Well, it's fourth dimension to scoop upwards that clearance frame because y'all tin can hands update information technology in minutes to match your dwelling house decor!
An piece of cake way to update a frame that merely doesn't quite go with your décor is by adding textile! That's right y'all tin can turn a apparently motion picture frame into something astonishing with a fun print fabric! You volition never take to forego that discounted, not-quite-the-right-colored-frame again! Having the power to create a customized piece for your abode is a great feeling. The different ways to add customized pieces to whatever room is endless!
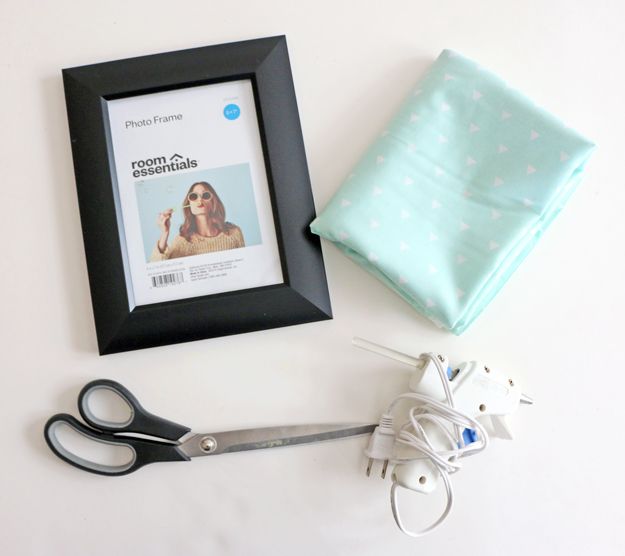
Hither'south what yous'll need:
- Picture Frame
- Fabric
- Scissors
- Hot Gum Gun and Glue
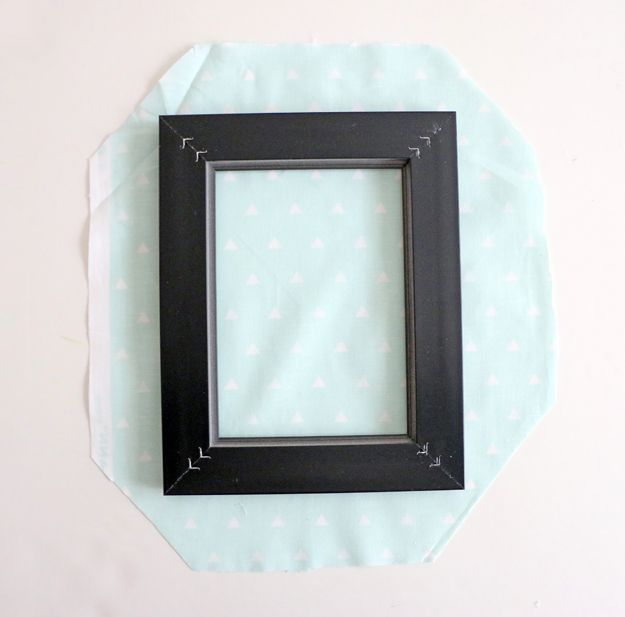
Step 1: Lay out your fabric and place your picture frame on top of it (you will remove the glass and bankroll of your frame before doing this). Next, you volition cutting your textile down. I allowed most ii inches of fabric from the side of my frame. This will obvious depend on the size of your frame. Yous just want to brand certain you have plenty material to comprehend the front of your frame.

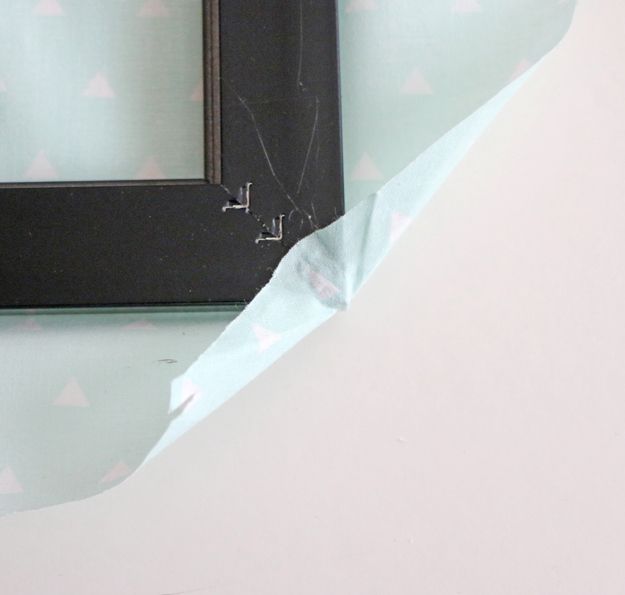
Step ii: Once you lot cut your fabric, you lot volition want to fe it to remove whatsoever creases. After ironing your fabric, lay your frame in the middle. You are going to cut the fabric at an angle on all four corners, leaving nearly ¼ inch from each corner.
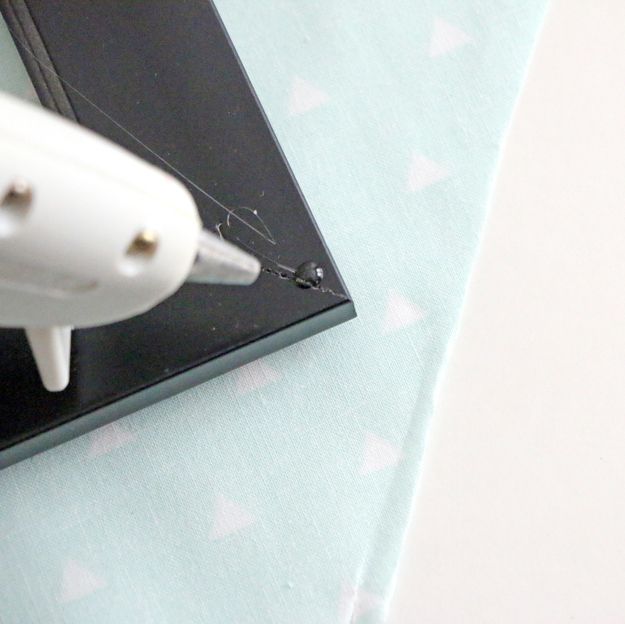
Footstep 3: Place a small dab of hot glue on the corner of your frame. Pull up on your fabric, gluing it to your frame. You lot will echo this step on your remaining three corners.
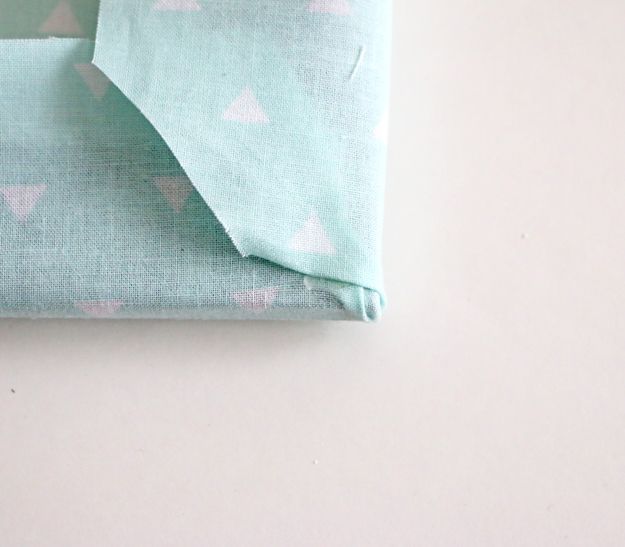
Footstep iv: Add together another dab of mucilage to the corner of your frame. Then, pull upwardly on the fabric on the left side, creating a fold over the fabric your just glued. Place some other dab of glue on the corner of your frame and fold up the other corner of your fabric. Repeat this pace on the other three corners of your frame.
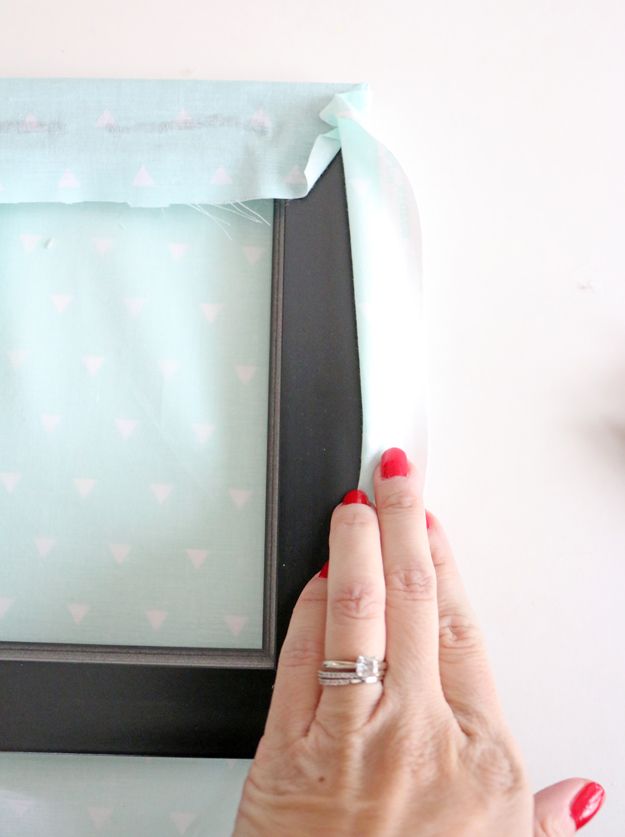
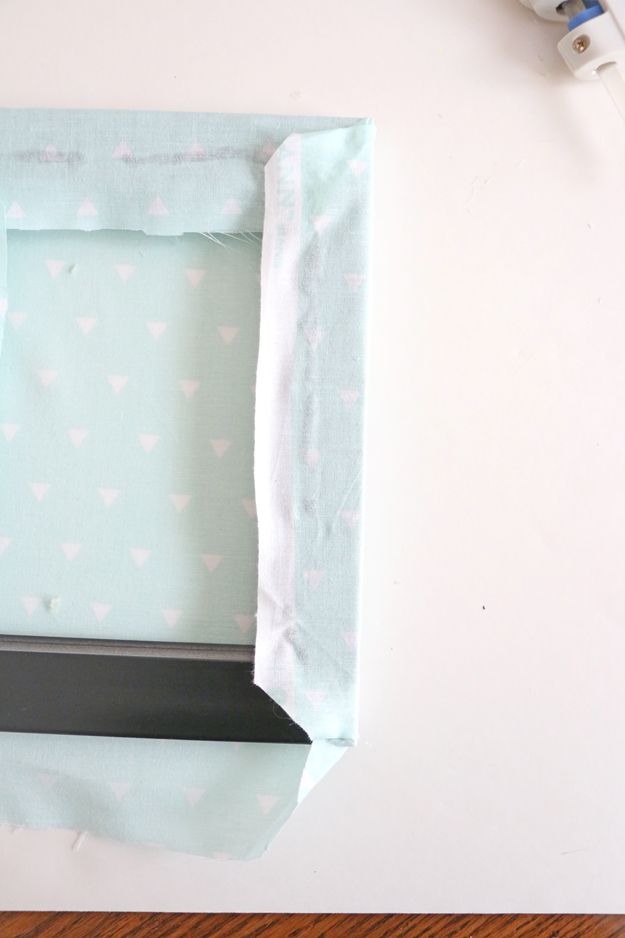
Footstep five: Add mucilage downward the side of your frame and pull your fabric upwardly and over the back of your frame. Repeat this step on all three corners of your frame.
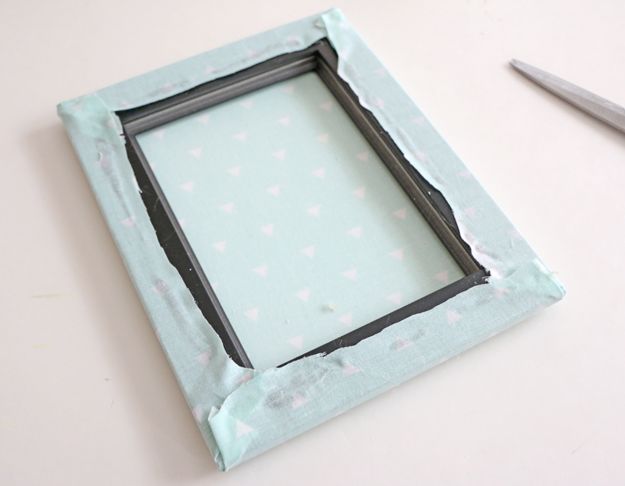
Step 6: Adjacent, you will cut an 10 in the center of your frame. Kickoff in the centre of your fabric and cutting up to each of the corners.
Step vii: After you cut your X, you volition trim your material downwards so you accept enough to wrap up and over your frame.
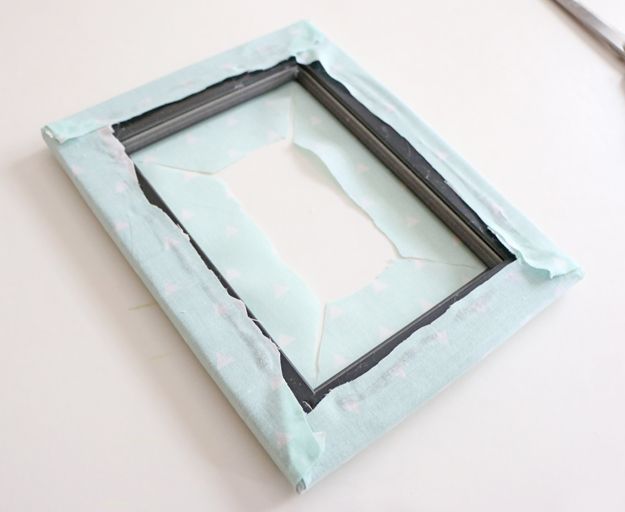
Stride 8: Finally, go around and glue all of the center pieces of fabric to your frame with hot glue.
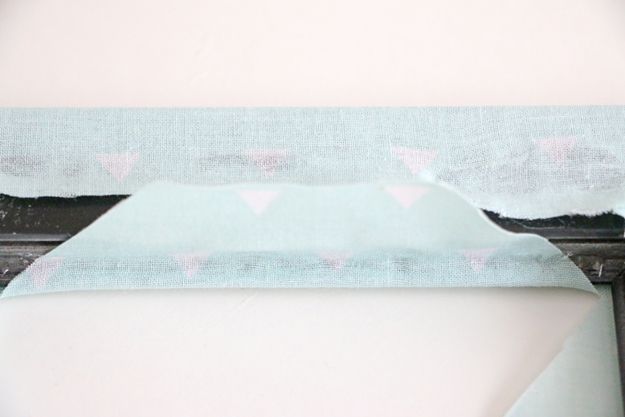
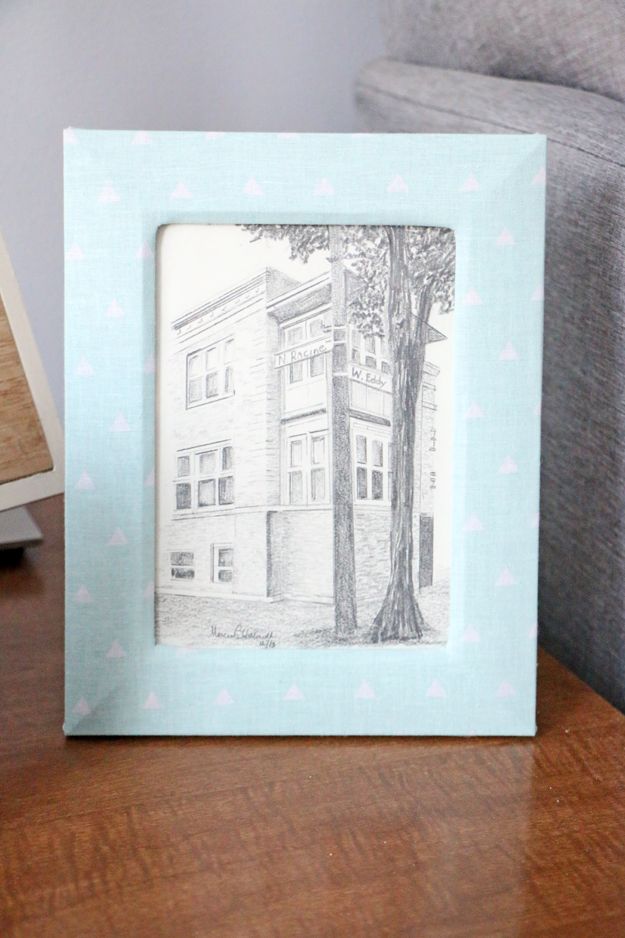
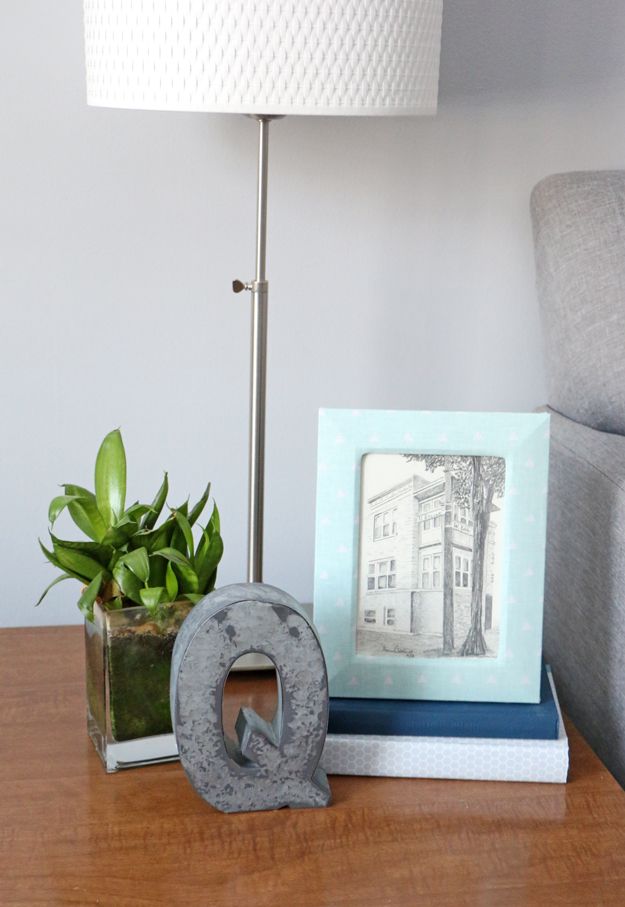
When yous are finished gluing the rest of your fabric to your frame, yous will be left with a custom, one-of-a-kind frame perfect for the special place in your dwelling!
Source: https://www.diys.com/fabric-picture-frame/
0 Response to "Transform a Plain Picture Frame With Fabric!"
Post a Comment